Coloring Pages Collection
Printable coloring pages bring creativity and relaxation into everyday life. These pages give children and adults a fun activity that encourages focus while adding color to beautiful designs.
Many people enjoy coloring pages because they can create artwork without drawing from scratch. A box of colored pencils, markers, or crayons is all you need to turn simple outlines into colorful creations.
Free coloring pages are popular for home activities, classrooms, parties, and quiet evenings. They provide a break from screens and give your hands something enjoyable to work on.
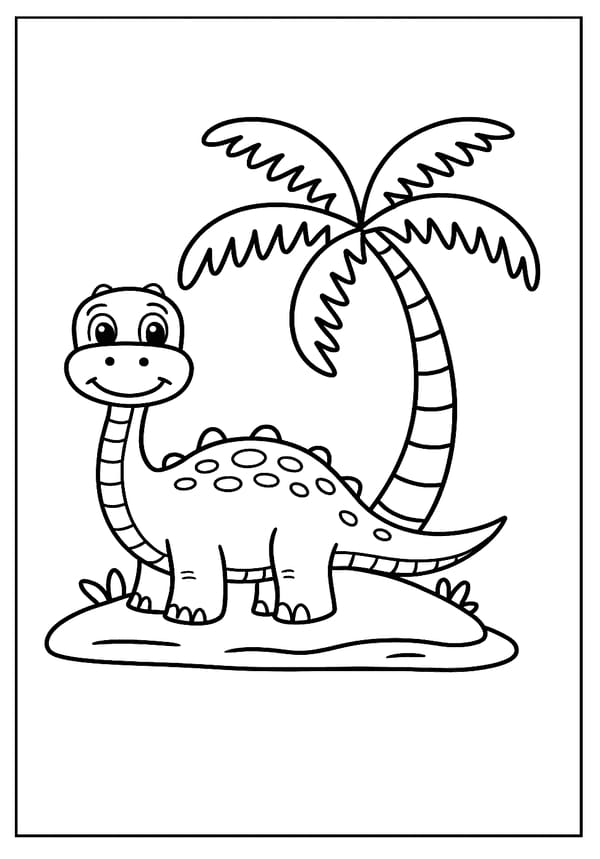
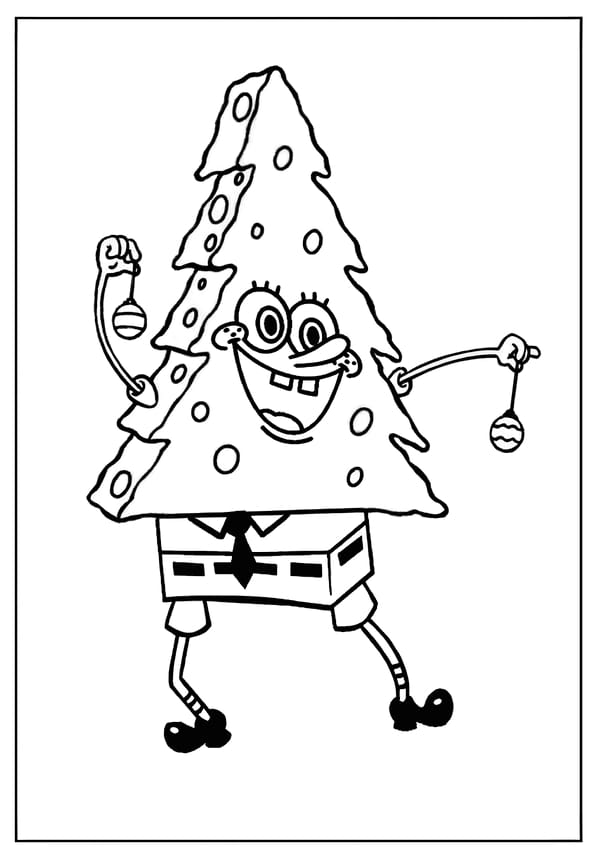
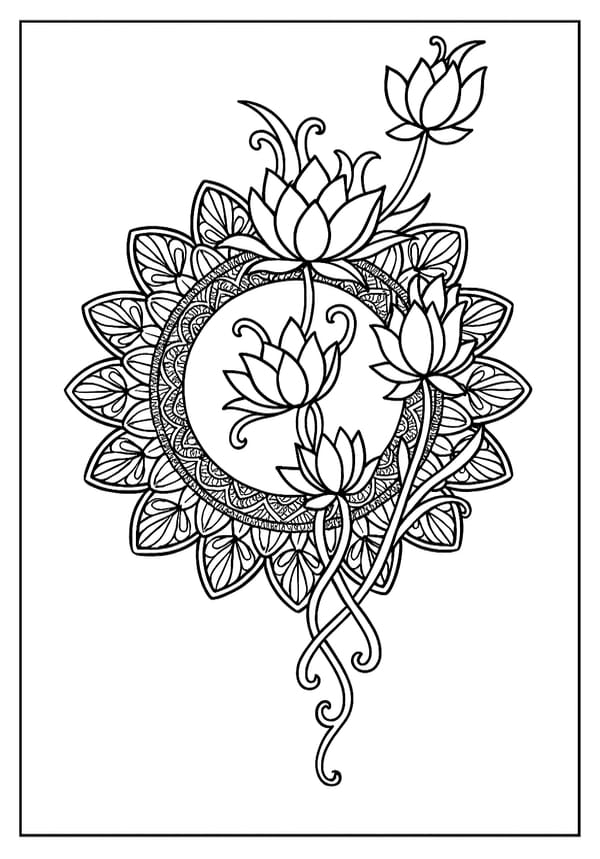
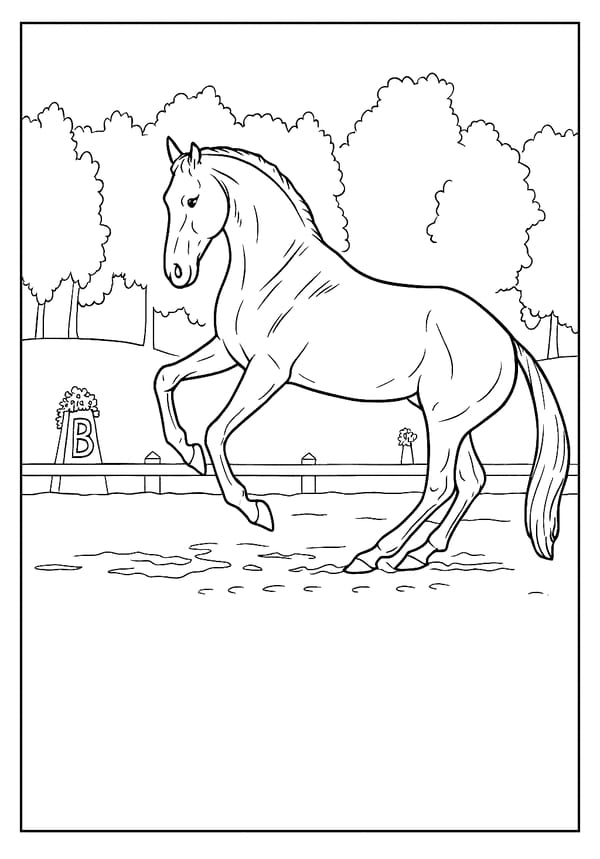

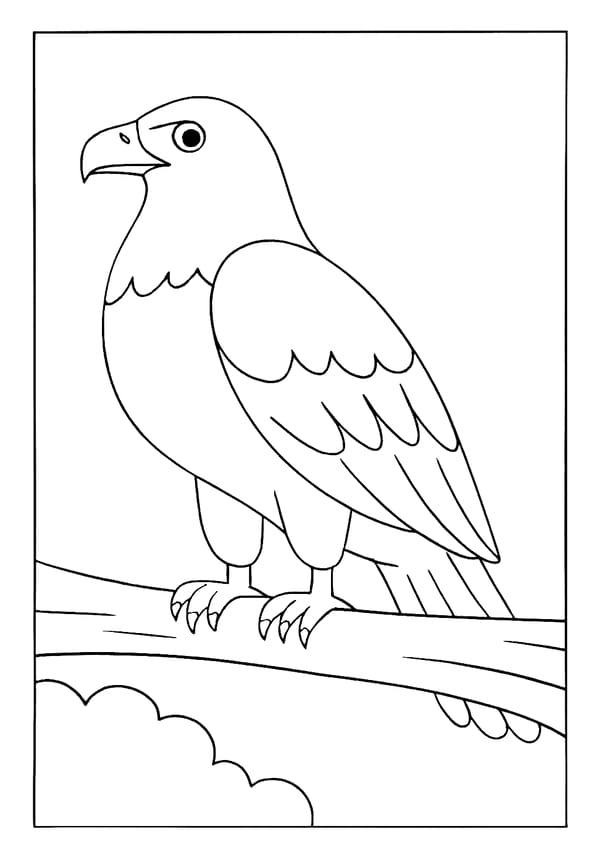
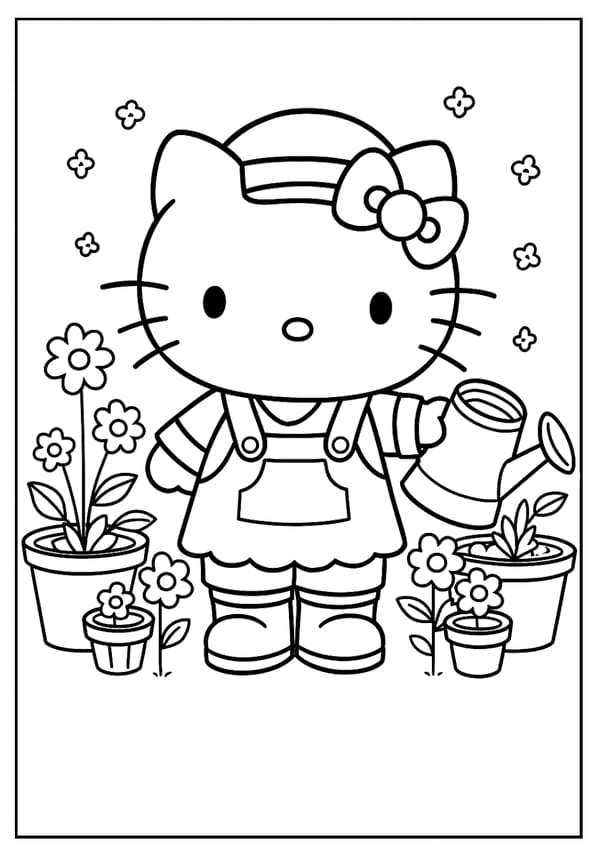
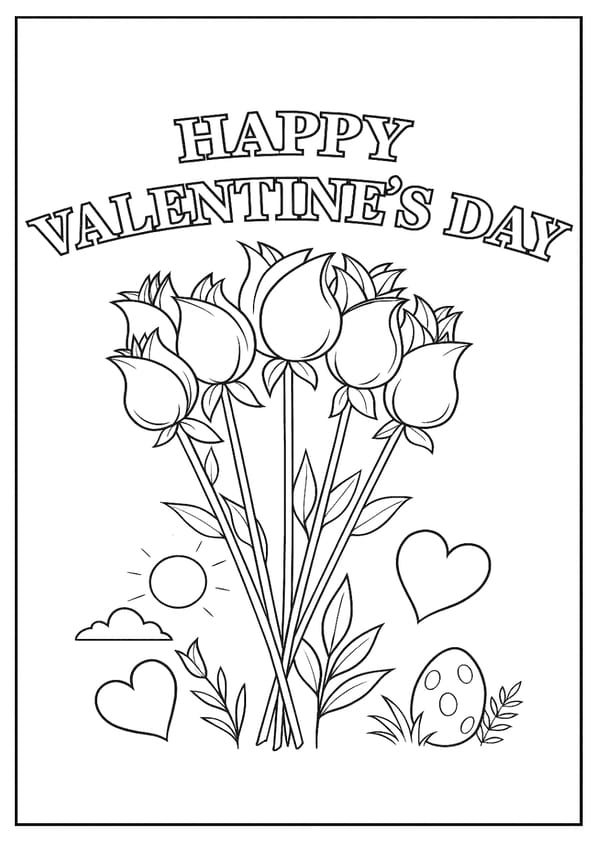
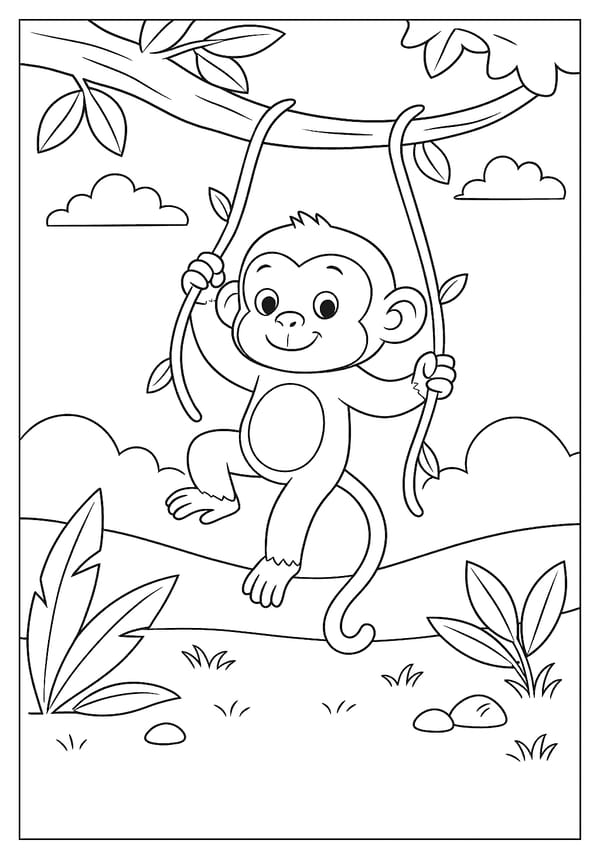
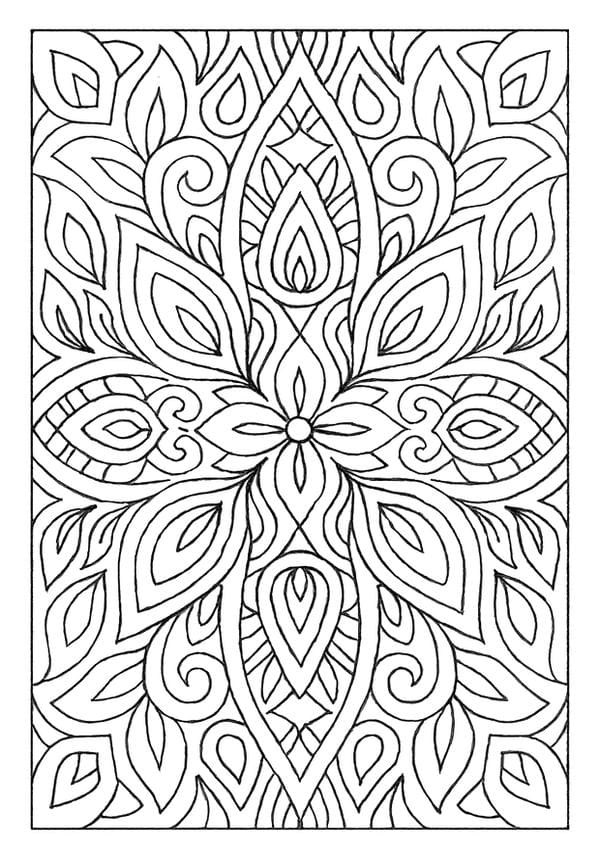
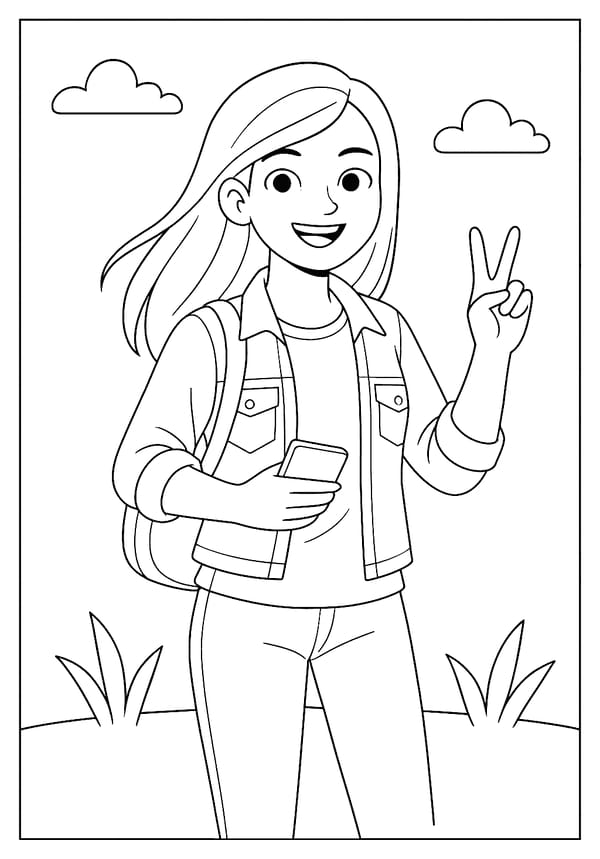
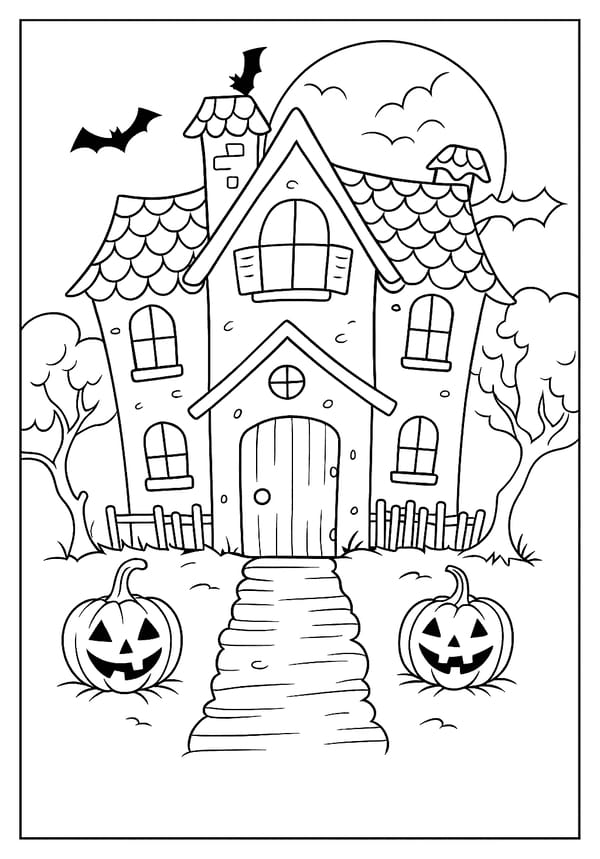
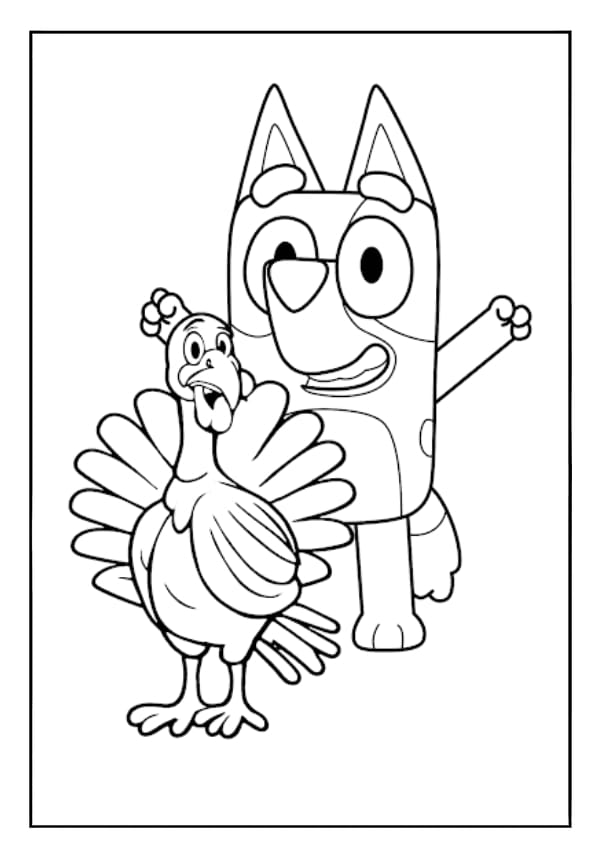
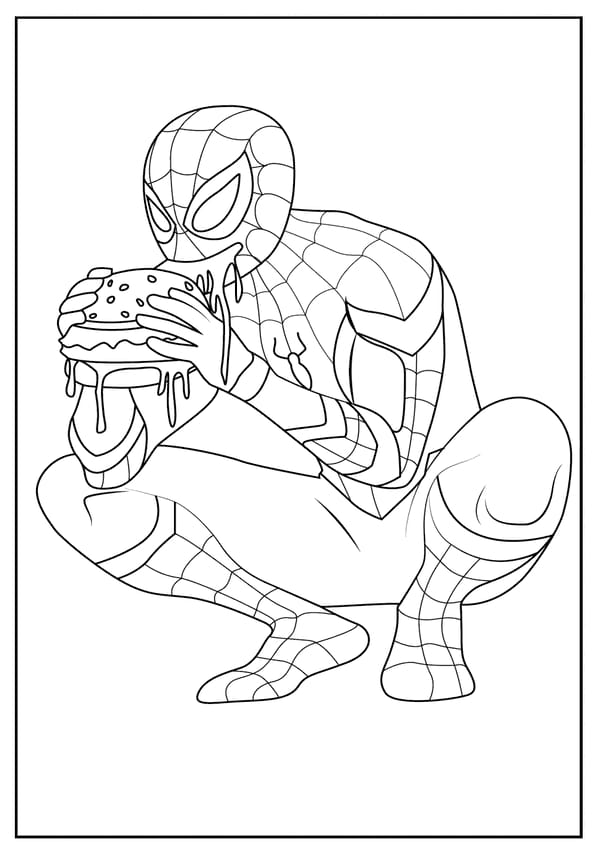

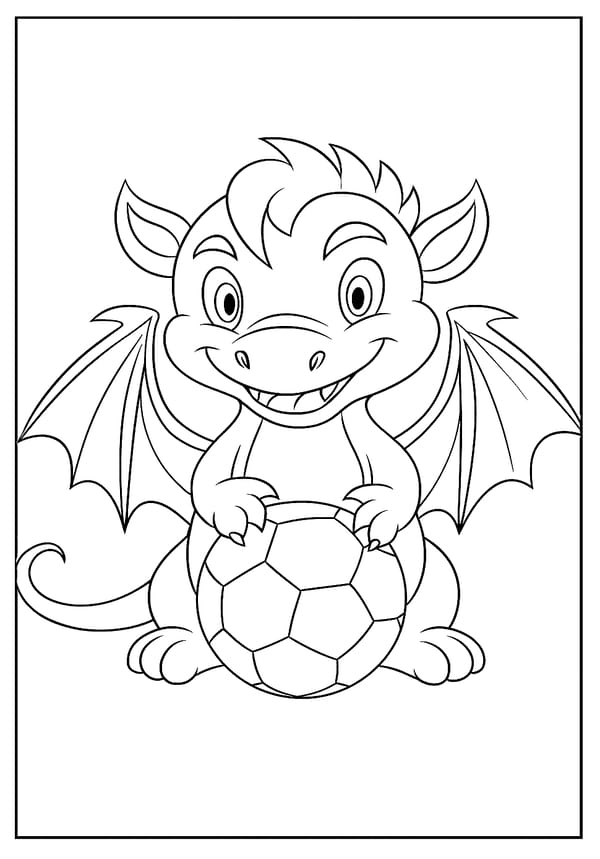
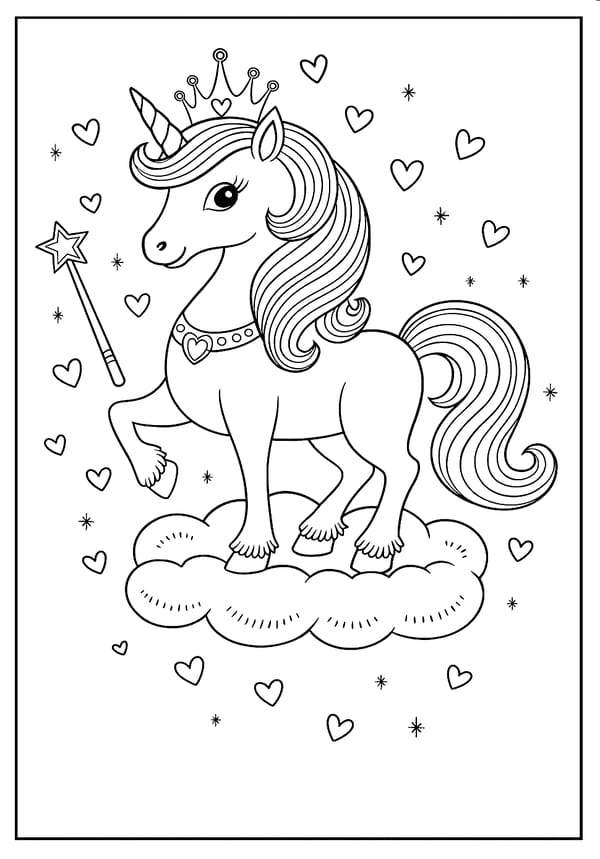
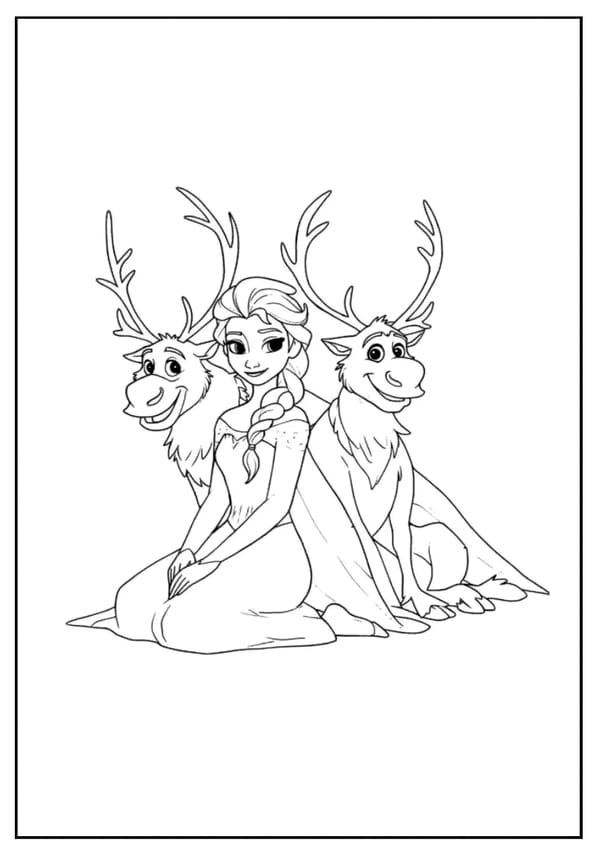
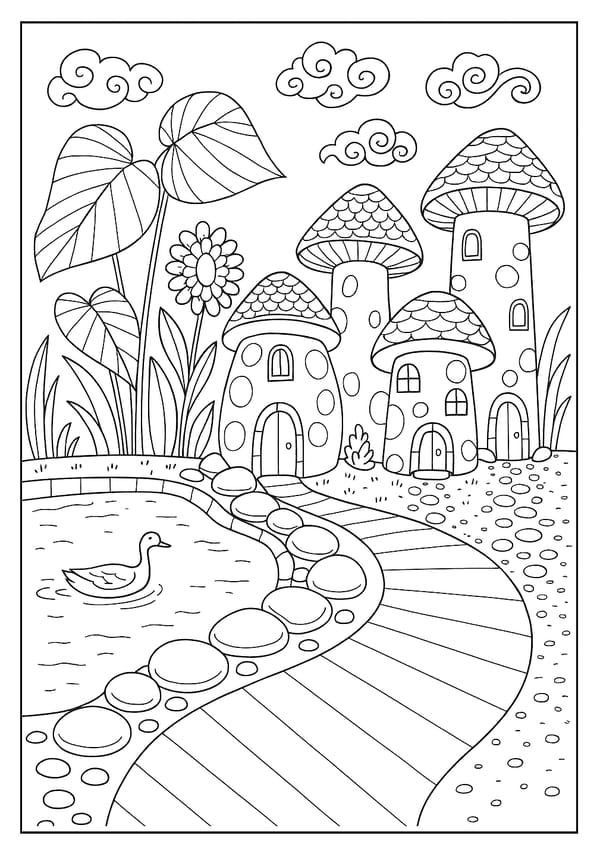

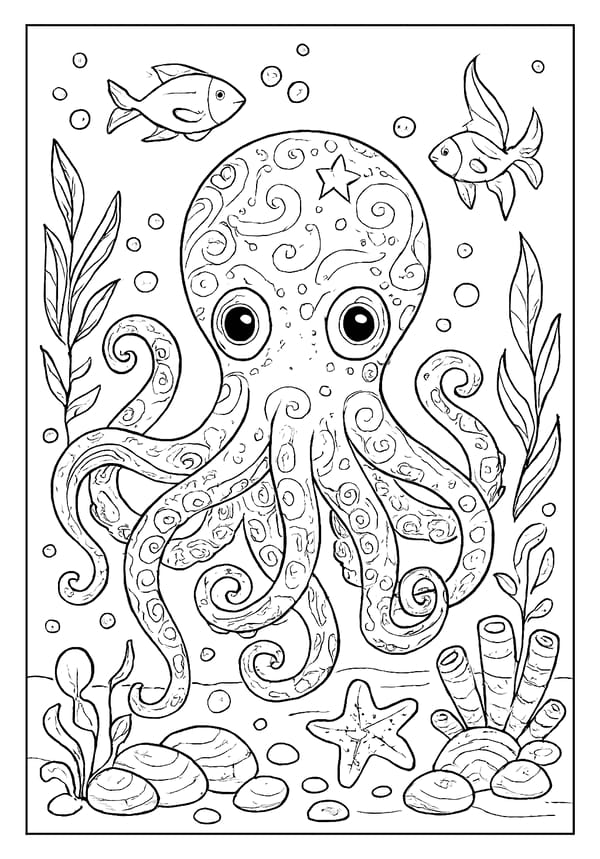
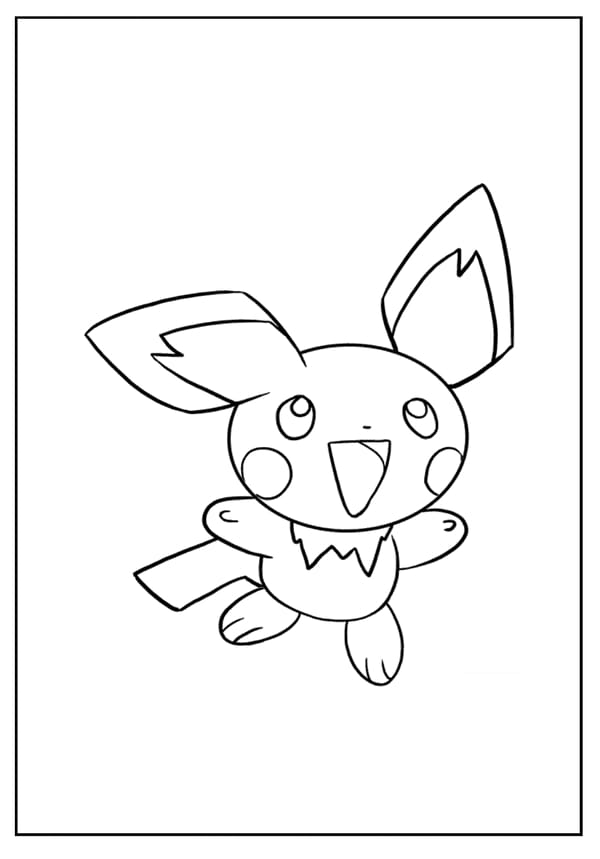

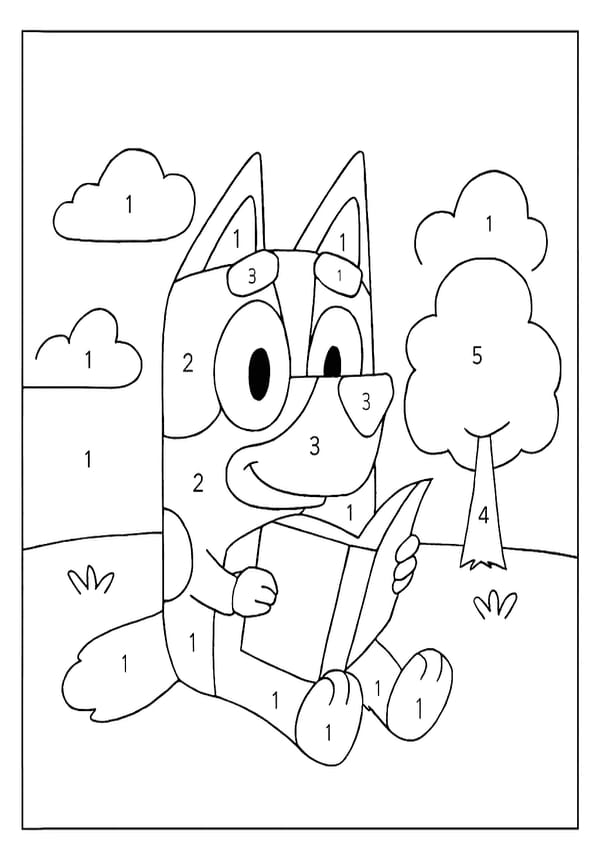
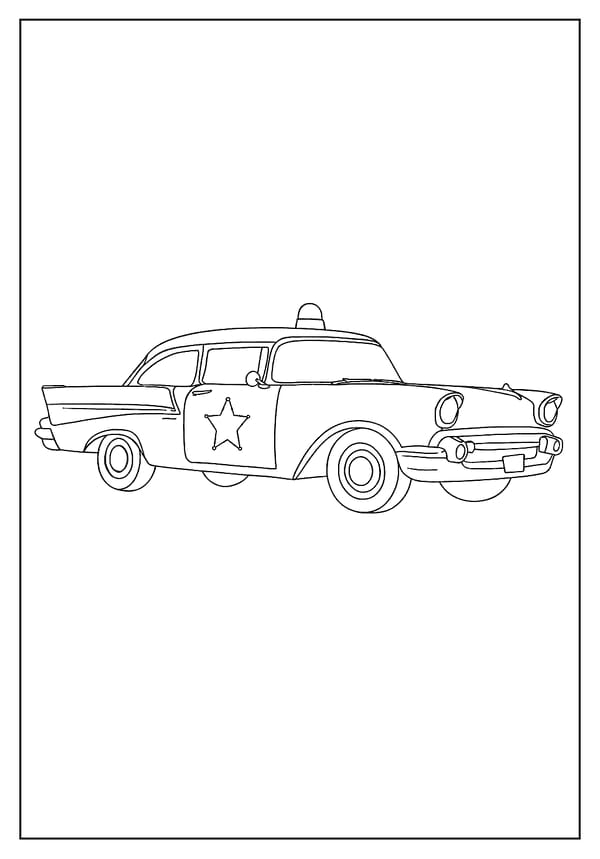
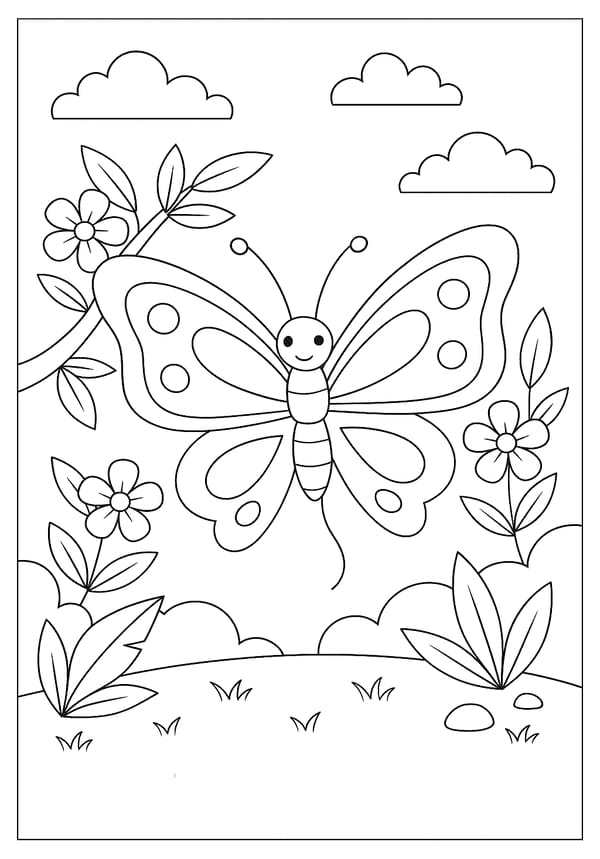
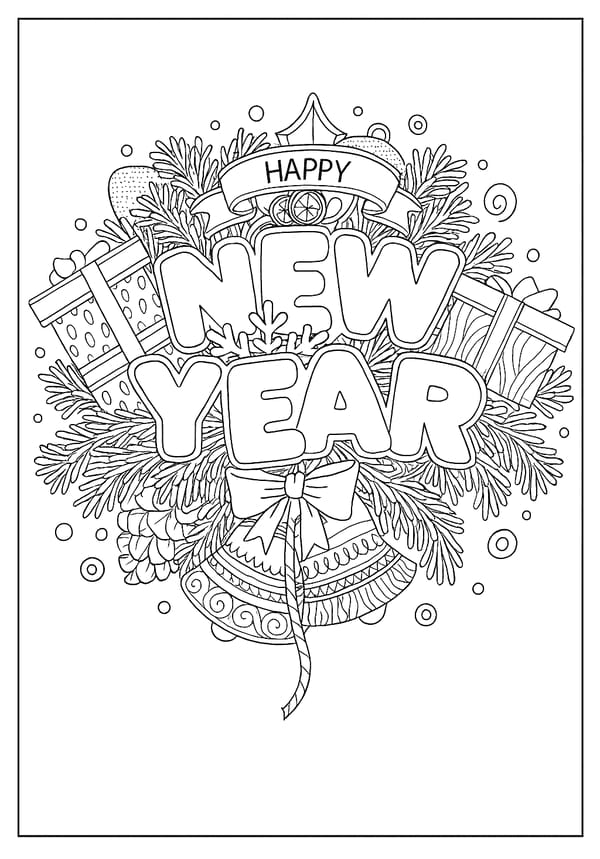
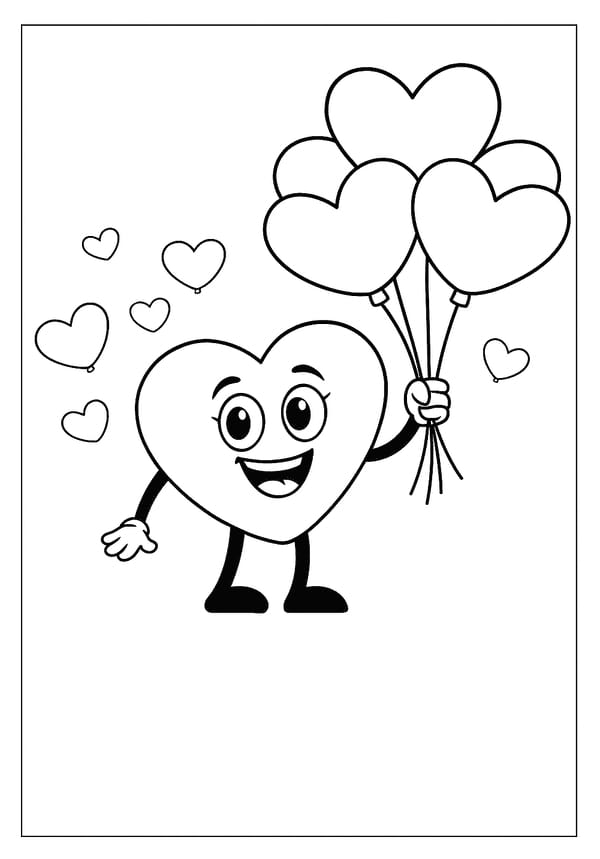
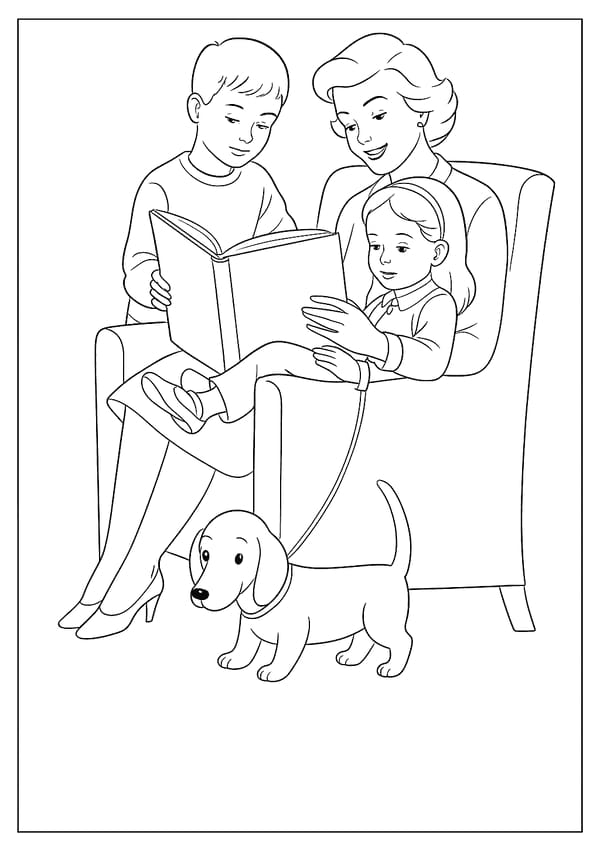
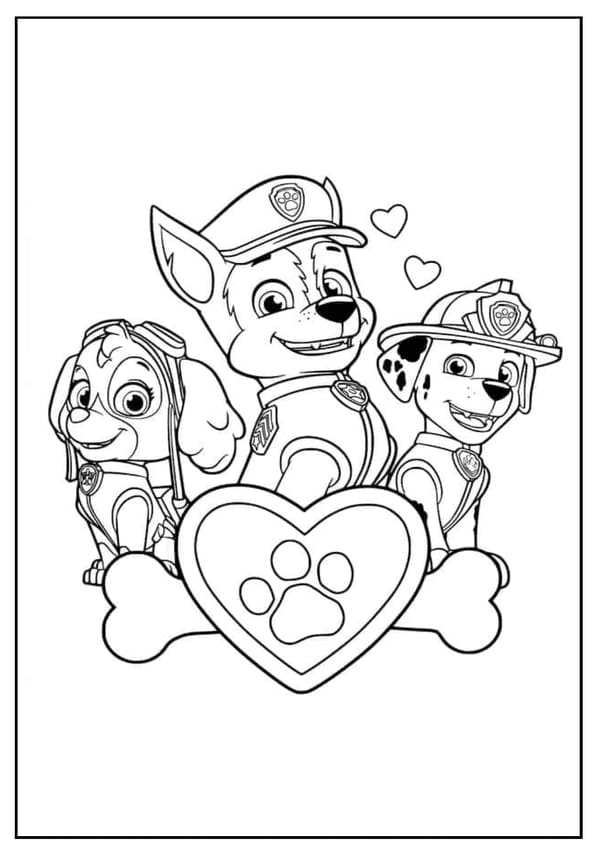
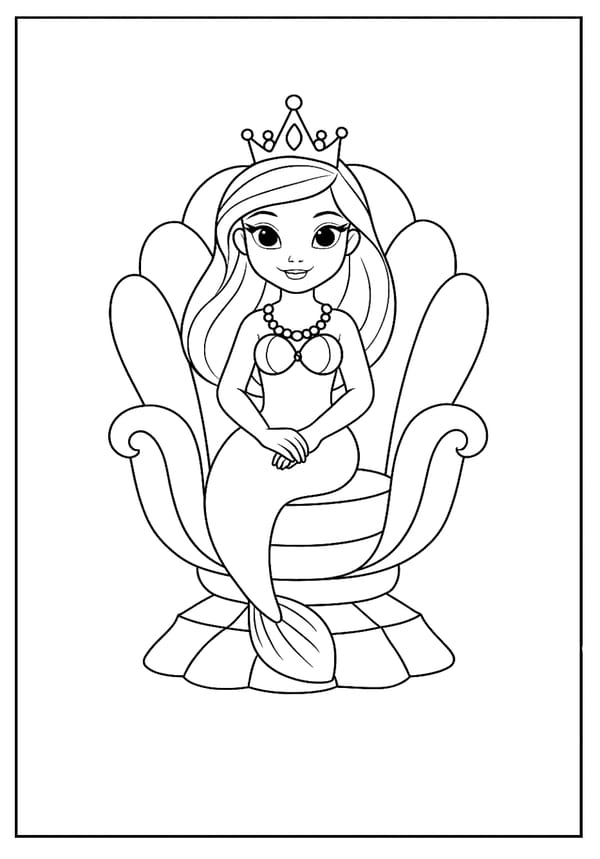
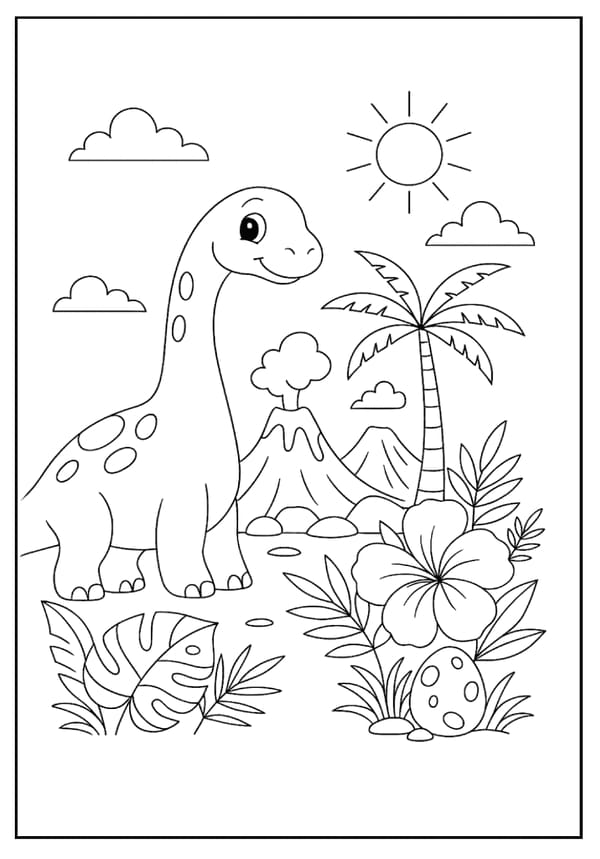
This collection includes a wide range of coloring pages featuring animals, cartoon characters, flowers, mandalas, holiday themes, patterns, and more. Every page is formatted for easy printing on standard paper.
Simple designs work well for younger children, while detailed coloring pages offer plenty of space for shading and creative color combinations.
3 Creative Ideas for Coloring Pages
Printable coloring pages can be used for much more than simple coloring activities. Finished pages can be framed and displayed as wall art, turned into seasonal decorations for holidays and special events, or used to create handmade greeting cards for friends and family. Many people also laminate completed coloring pages and use them as placemats, bookmarks, or classroom decorations. These simple projects give extra purpose to your artwork while providing more opportunities to enjoy your favorite coloring pages.
Choose the Right Paper
Paper selection can make a noticeable difference in your coloring pages. Standard printer paper works well with crayons and colored pencils, while cardstock provides extra support for markers.
Thicker paper reduces bleed-through and helps prevent wrinkles caused by heavy coloring. Testing your supplies on a spare sheet first can help avoid unwanted marks.
Make Holiday Decorations
Coloring pages can become handmade decorations for seasonal celebrations. Color your favorite designs, cut them out, and attach them to cardstock for extra durability.
These decorations look great on doors, walls, classroom boards, and party displays. A light protective coating can help preserve the finished artwork for longer use.
Create a Wall Art Display
Completed coloring pages can be placed in frames and displayed around your home. A collection of framed pages adds color and personality to hallways, bedrooms, offices, or craft rooms.
Matching frames help create a clean appearance while allowing the artwork to stand out. Replacing older pages with new creations keeps the display fresh throughout the year.
Why People Enjoy Coloring Pages
- Free printable coloring pages in PDF format
- Suitable for kids, teens, and adults
- Easy to print at home
- Supports creativity and focus
- Works with crayons, markers, and colored pencils
- Useful for classrooms, family activities, and personal projects
Download your favorite coloring pages, print them, and start coloring today.